2010-08-10

Fastening Gunwales to the Posts


The last finicky fastening job is fixing the ends of the gunwales to the stem and stern posts. After this the bird cage frame becomes quite stable and we can now apply the bottom stringers.

A difficult part is getting the end of the gunwales properly tapered to meet flush with the sides of the posts. We tried a number of tools, the block plane, smoothing plane and then the rasp but all were rather awkward to operate for this purpose as there was not much space. In the end what worked best was to us a handsaw and first cut an approximate bevel. Then using the saw flat against the side of the stem post just keep sawing layers into the gunwales paralell to the stem face. Worked pretty slick. The end result was a very nice fit.

Managing the glue tube

So far we have been using a large nail to plug up the end of the tube to keep the glue from harding in the tip or spilling out. The problem we are experiencing is that once the nail is pushed in it slowly wants to come out again. I had experienced this problem before with other caulking tube products. What I found was that often an air bubble was lodging inside the tube which acts like a spring. Air compresses under pressure but then slowly wants to return to its original volume. At some point while expelling the caulking compound one hears a pop which is the release of the air bubble. After that the spongy movement of the nail usually stops and stays put.
Over time we get quite a messy blob at the head of the nail as pictured here. In fact the nail is emerging during the taking of this photo.


So a second errand yesterday was to pick up some Twist-n-Seal stoppers from Lee Valley especially designed for this type of a problem. It is a narrow cone with a fine spiral thread that stays lodged in the tip. They come in packages of 5. We tried it today and it works very well. much tidier and easy to apply as pictured here.


Just push the stopper into the tip and then give it a number of twists for the spiral thread to grip.

2010-08-09

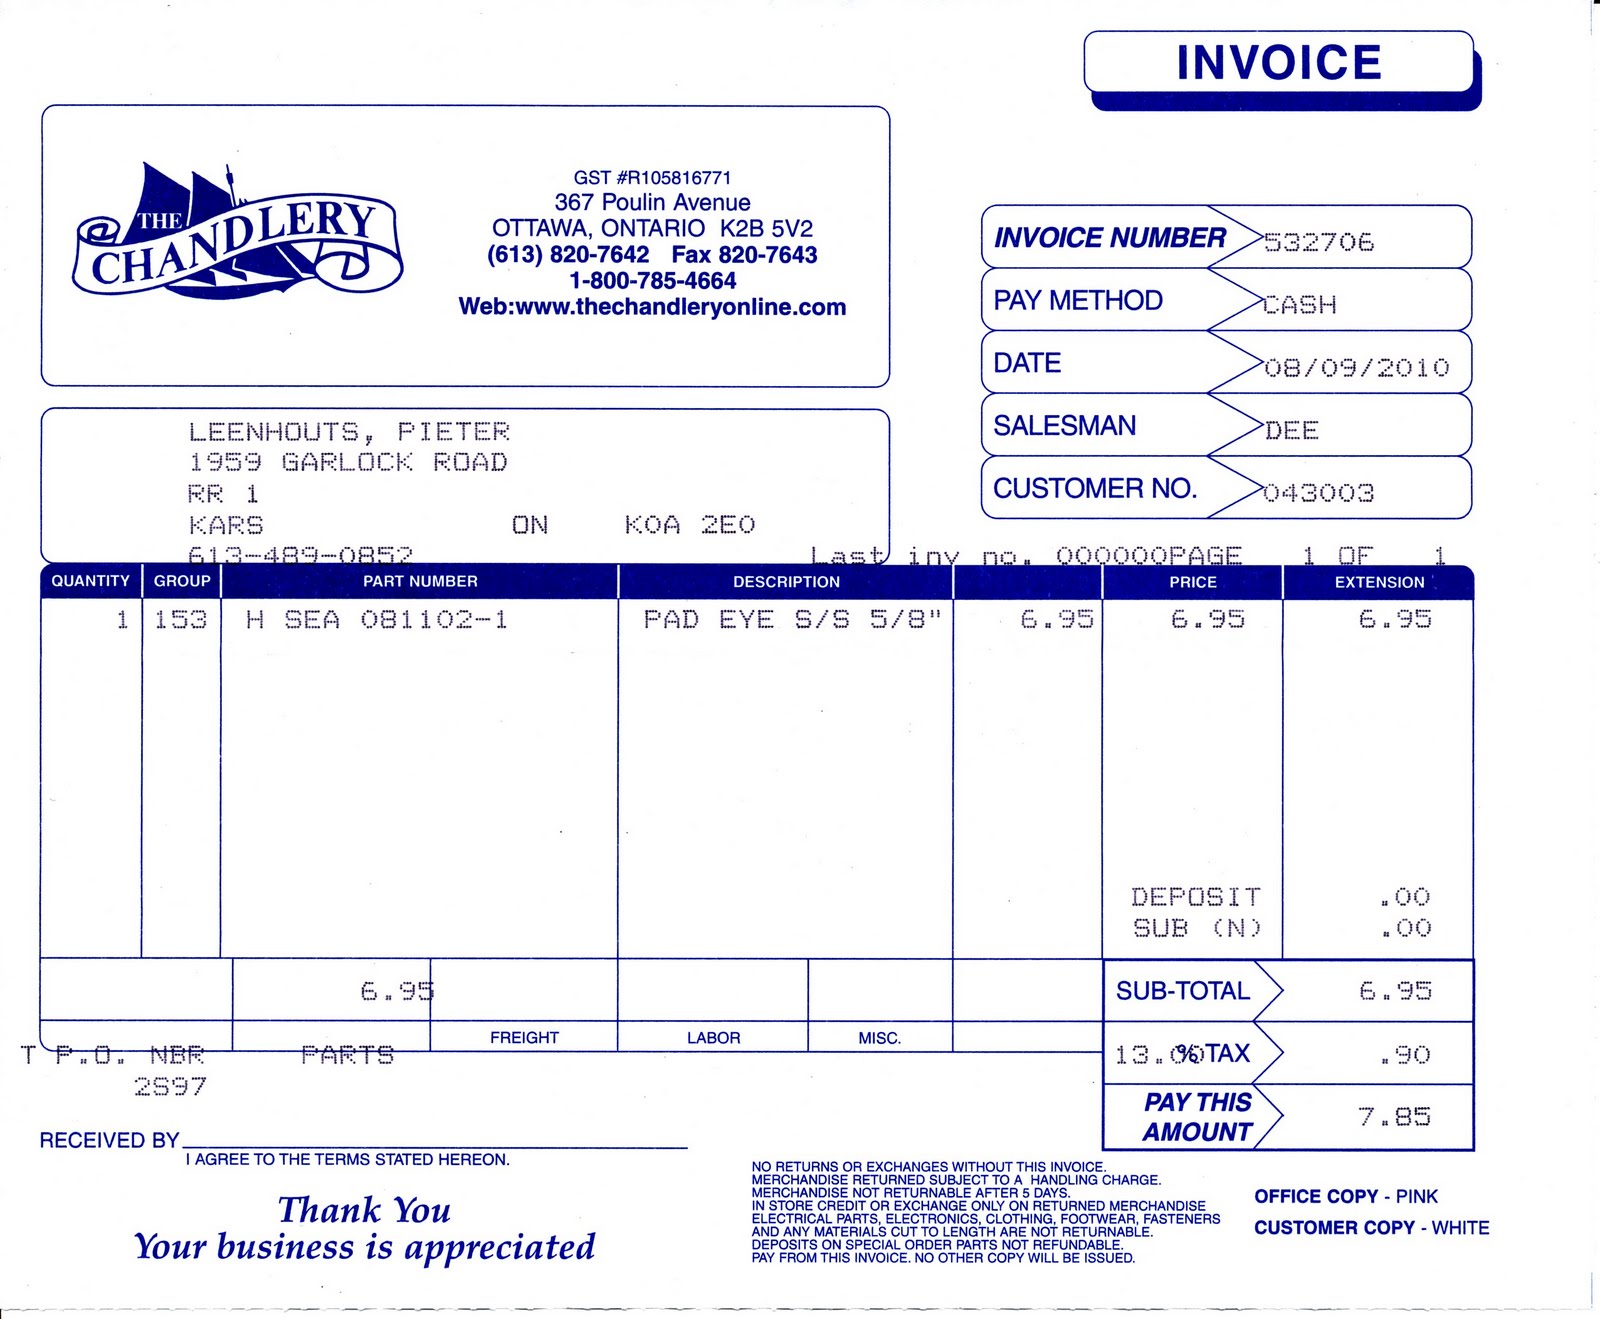
Visit to The Chandlery in Ottawa


Today was an errand day which means a drive into town, and one of the errands was to visit the local ships chandler to find some type of hardware that could best be used to tie painters (lines) to the bow and stern of the kayak. We found Pad eyes as pictured here that seemed quite suitable, made of Stainless steel. Bill of sale is also added for interest.

In the Ottawa area I only know of one marine hardware supplier called The Chandlery. Although a chandler is really a merchant of any type of hardware or supplies, in our culture it seems to have migrated to mean specifically a supplier of all things to do with boats, from hardware parts, pulleys, shackles to marine toilets, paddles, life vests, what have you. Indeed there are peculiar parts that one can get there and not anywhere else.

2010-08-08

Gunwales On

This afternoon we fastened the gunwales which has stiffened up the entire structure nicely. As soon as the gunwale ends are beveled and fastened to the stem and stern posts the structure will lock right up.

To attach the gunwales we turned the assembly upright and then placed the whole structure onto a straight and level 16 foot long nominal 2'' by 6'' plank (actual dimensions 1½'' by 5½''). Using a taught string for guidance, the keel was straightened ( a 1'' by 2'' (actual 3/4'' by 1½") is still quite flexible) and nailed onto the plank using a nail gun and about 5 finishing nails 1½'' long, 18 guage (pretty thin) at even intervals. This was much faster and more secure than clamps. We will simply pull the finishing nails through the keel wood when we want to remove it.


Using a carpenter (framing) square and string we then trued and guyed frame 10 (pictured here) so that it would stay perpendicular to the keel thus creating a firm and fixed plane of reference for the remaining frames forward and aft. we fastened the frames to the gunwales at exact equal distances at both sides again checking that the frames were square with the keel using a framing square.

Once on a role things moved quickly, gluing, countersinking, drilling and screwing all the joints.

Big Day Today

Assembling the frames on the keel is likely the most challenging and finicky assembly. I suppose if we had sophisticated frame holders it might be easy but this is supposed to be a basic installation after all. As a result we had to pay particular attention to measuring and repeatedly checking the position and square of each frame onto the keel. After several tries it was evident that the easiest way to initially install the frames was to put the keel bottom up on some boxes and then fasten the frames underneath so that they hang down from the keel. once we got one screw from the keel into each frame we turned the assembly upright to attach the gunwales. We saved the second screw for later when the adjustments are all finished. Schuyler and Sean his first cousin once removed are in the background.


2010-08-07

Making the Gunwales


The gunwales -- typically pronounce like gunnel -- are 17 feet and 4 inches long for this boat. Unfortunately our lumber yard only provides 16 foot long boards. Anything larger is special order and at considerable expense and delay. We decided instead to lengthen the gunwales by adding two pieces and making a 4 inch long smooth tapered scarf joints to maintain the strength of the wood. The author had to do this for his boat built in 1974 and the joints held up admirably and were never the cause for failure over the 36 years.

In this photo Schuyler is applying the PL Premium glue to the scarf joint. We were both so far quite impressed by the glue which is holding extremely well. What is nice is that it takes up to 24 hrs. to harden so it gives some time to play with the joints.

Preparation of the Keel


In the first of these photos is the Keel laid on a 16 foot long plank. We will be working on the plank until all the frames are fastened to the keel and the gunwales. Gunwales are the boards that are at the upper edge of the sides of the boat.

In the second photo Schuyler is using a smoothing plane to plane the ends of the keel to a 3/8 in wide tip to meet up with the Stem and Stern posts.

In the plans the instructions refer to this keel as a hog and then refers to the keel as the centre rubbing strip. From my limited boatbuilding experience would not the keel actually be a structural part of the vessel rather than a protective strip on the bottom?

Framed Boatbuilder


In this picture Schuyler is wearing the frames which are now dry and with stiffeners attached ready for assembly to the keel. In his hands he is holding the cut out stem and stern posts.

2010-08-02

Glue and Screws

Schuyler has been busy yesterday cutting out the frames which are all done. All that remains is to sand some of the edges.

We also drove in to Kemptville to buy the screws and adhesive.


Interesting sidebar: The materials list calls for quantities of screws in gross and Schuyler had to ask what a gross was, which to us older fogies of course is 144 based on 12 x 12. The packs actually come in quantities of 100 today. One could say that even quantities are today in metric which is base 10. Have we lost something here I wonder?

Maybe there is something to be said for the imperialists, monarchists and anti-metric types.